


 中文简体
 Español

 2026.11.19
How to Shrink Wrap Bath Bombs: A Friendly Step-by-Step Guide for Clean, Tight Finishes
Content
- 1 Why a Tight Wrap Matters More Than Most Makers Expect
- 2 What You Need on the Table Before You Start
- 3 How to Shrink Wrap Bath Bombs by Hand, Step by Step
- 4 Heat Gun, Hair Dryer or Shrink Tunnel?
- 5 Band, Bag or Full Wrap: Which Suits Your Bombs?
- 6 Five Problems That Ruin a Batch, and the Fixes
- 7 From the Kitchen Table to a Production Line
- 8 Storing and Shipping Wrapped Bombs
Bath bombs are a pleasure to use and a nuisance to pack. Their edges chip, they soak up humidity from the air, and they lose fizz and fragrance faster than almost any other bath product we have handled. After more than twenty years of building shrink wrapping equipment, from hand-fed sealers to full tunnel lines, the question we still hear from small makers is the same one: how do you shrink wrap bath bombs without squashing them or melting the film?
The hand method takes well under a minute per bomb once you find a rhythm, and the same principles carry straight into automated production. Here is the version we would walk a friend through.
Why a Tight Wrap Matters More Than Most Makers Expect
Shrink film does three jobs at once: it blocks moisture, it holds the shape together, and it makes the product look like something worth paying for.
- Moisture is the real enemy. Bicarbonate and citric acid start reacting the moment humid air reaches them. A snug film slows that reaction to a crawl, so the bomb still fizzes properly months later.
- Fragrance and colour stay put. Essential oils evaporate from an open surface; a sealed skin keeps the scent in the bar rather than in the shipping carton.
- Edges survive the journey. Compressed bombs chip at the corners as soon as they rub against each other in a box.
- It looks finished. A crisp, tight wrap reads as professional, and customers judge bath products with their eyes long before they drop one in the water.
- It gives you a labelling surface. Ingredients, batch codes and warning text sit neatly over the film.
We see the same logic across personal care and home care packaging: the film is thin and inexpensive, yet it carries both protection and presentation at the same time.
What You Need on the Table Before You Start
- Shrink film bands or bags. PVC or PET bands suit round bombs, polyolefin (POF) bags suit full wraps. Around 60 gauge, roughly 0.03 mm, is a sensible starting point.
- A heat gun with a low setting and a narrow nozzle, or a hair dryer as the gentler option.
- Sharp scissors or a rotary cutter.
- An impulse sealer or a heat sealing wand for bag edges.
- A heat-resistant mat, a cooling rack, cotton gloves and a timer.
- Two or three spare bombs to practise on.
Skip the cling film from the kitchen drawer. Cling film stretches and clings; shrink film contracts and locks. They behave in opposite directions, which is why the kitchen version looks baggy no matter how carefully you fold it.
How to Shrink Wrap Bath Bombs by Hand, Step by Step
Step 1: Let the Bombs Cure First
Give the bombs 24 to 48 hours in a dry room before they meet any film. A bomb that is still slightly damp will fog the inside of the wrap within a day, and no amount of careful heating will fix it. The surface should feel firm and cool to the touch.
Step 2: Cut the Film Bigger Than Instinct Suggests
A band should be about one and a half times the bomb's diameter and slightly taller than the bomb. A bag needs 3 to 4 cm of spare film on every side. Extra material is what gives the film somewhere to travel when it contracts.
Step 3: Centre the Bomb and Seat the Film
Lay the bomb in the middle of the film on a heat-resistant surface and smooth the material with gloved fingers. Creases pressed into the face of the bomb will stay visible, so keep the film relaxed rather than drum-tight. Slight slack is correct at this stage.
Step 4: Seal Before You Shrink
For bags, run the open edge through an impulse sealer on a low setting or use a heat sealing wand, and leave a small vent gap in one corner so air can escape later. For bands, overlap the two ends by about a centimetre and seal that overlap. A band that is only twisted shut will slide off as soon as it tightens.
Step 5: Apply Heat in Short, Moving Bursts
This is the part that decides the finish. Hold the heat gun 15 to 20 cm from the bomb, keep it on low, and work in bursts of one to two seconds. Move constantly, warm the loose edges first so the film grips, then sweep across the face. Stop the moment the wrap turns taut. PVC goes from tight to glossy to melted in a couple of seconds, and the melted version cannot be rescued.
If you are using a hair dryer instead, hold it about 15 cm away and keep it moving. It is slower and far less precise, but it is also much more forgiving for a first batch.
Step 6: Cool, Trim and Check
Let the bomb rest for 20 to 30 seconds, then trim the surplus film to a margin of 2 to 3 mm. Press gently all over with a gloved hand, hold it up to the light and look for holes, wrinkles and dull patches. Anything with a hole goes onto the practice pile.
Heat Gun, Hair Dryer or Shrink Tunnel?
The right heat source depends on how many bombs you are wrapping and how consistent the finish needs to be.
| Heat source | Best suited to | Distance and timing | Watch out for |
|---|---|---|---|
| Heat gun on low | Full wraps, bands, thicker POF film | 15 to 20 cm, 1 to 2 second bursts | Melting at corners if held still |
| Hair dryer | Twenty to fifty bombs, thin PVC bands | About 15 cm, keep moving, 10 to 20 seconds | Uneven shrinkage on cold days |
| Sealing wand | Edges and overlaps only | Contact with the seal line | Weak seals if moved too fast |
| Shrink tunnel | Steady daily batches | A few seconds per pass | Over-shrink if temperature or belt speed drifts |
For a first batch of twenty, a hair dryer is genuinely enough. Once you are wrapping for a market stall every week, a heat gun gives you control the dryer cannot match.
Band, Bag or Full Wrap: Which Suits Your Bombs?
A band wraps the middle of the bomb and leaves both ends open. It uses the least film, is the quickest to apply, and suits perfectly round bombs where the ends are already smooth and dense. A full wrap covers everything, so it is the better choice for odd shapes, for shipping in humid weather, and for bombs with delicate embossed patterns that need the film to take their shape.
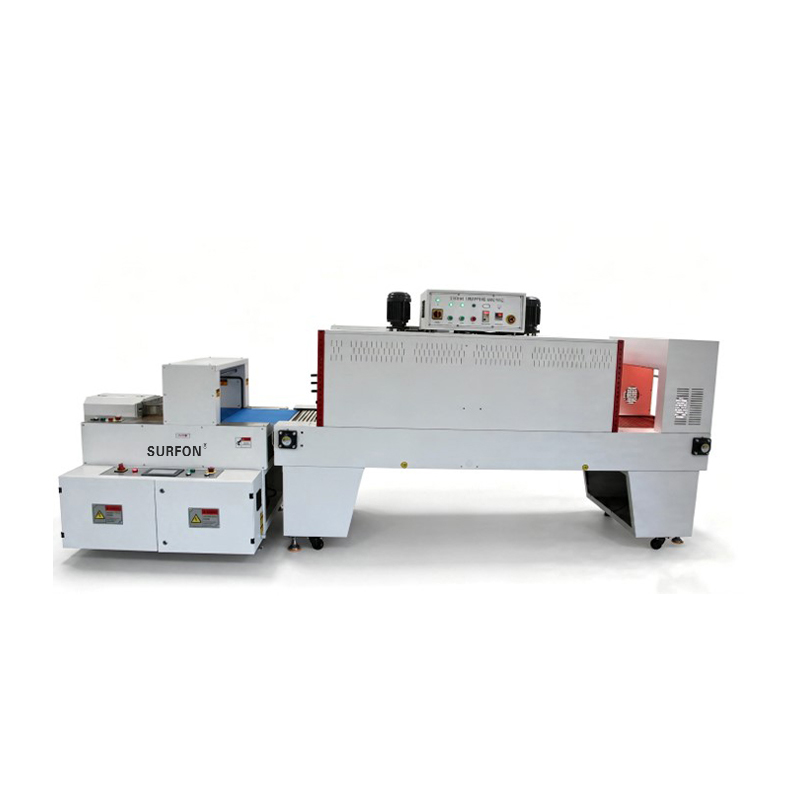
When banding moves from a hobby table to a few hundred pieces a day, a semi-automatic sleeve sealer paired with a shrink tunnel does the banding and the shrinking in a single pass.
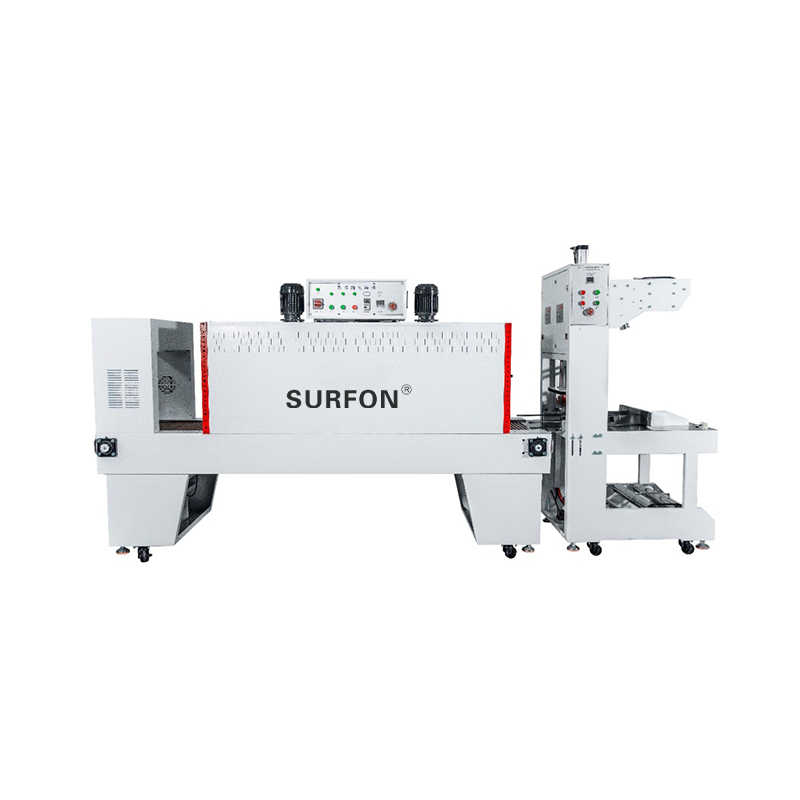 Semi-Automatic Sleeve Sealer and Shrink TunnelEconomical semi-automatic unit for lightweight batch wrapping, combining sleeve sealing and heat shrinking in a single pass for small and medium factories.View Product →
Either style works by hand, and neither is more "correct" than the other. Choose based on how the bomb will be stored, sold and carried home.
Five Problems That Ruin a Batch, and the Fixes
- Melted or torn corners. The heat was too close or held too long on thin film. Back the gun off to 20 cm, shorten the bursts, and test on a spare bomb first.
- Air pockets that look like bubbles. The film was sealed tight before shrinking, so the air had nowhere to go. Leave slack, keep the vent gap open, and shrink the edges before the face.
- Flattened or crushed edges. The wrap was pulled tight by hand and then over-shrunk. Start slightly loose and let the heat do the work.
- Cloudy, foggy film. Moisture was still inside the bomb, or a cold bomb met a warm room and condensed. Cure longer and let products reach room temperature before wrapping.
- Bands that slide off. The band was cut too wide for the bomb. Size it to roughly 1.5 times the diameter so it has something to grip as it contracts.
From the Kitchen Table to a Production Line
Hand wrapping works beautifully at fifty or a hundred bombs a week. Somewhere past a few hundred a day, wrists complain, the finish starts to differ between people, and film waste climbs. That is the point where a semi-automatic machine earns its bench space: the operator loads the product, and the machine repeats the same seal and the same shrink pass every time.
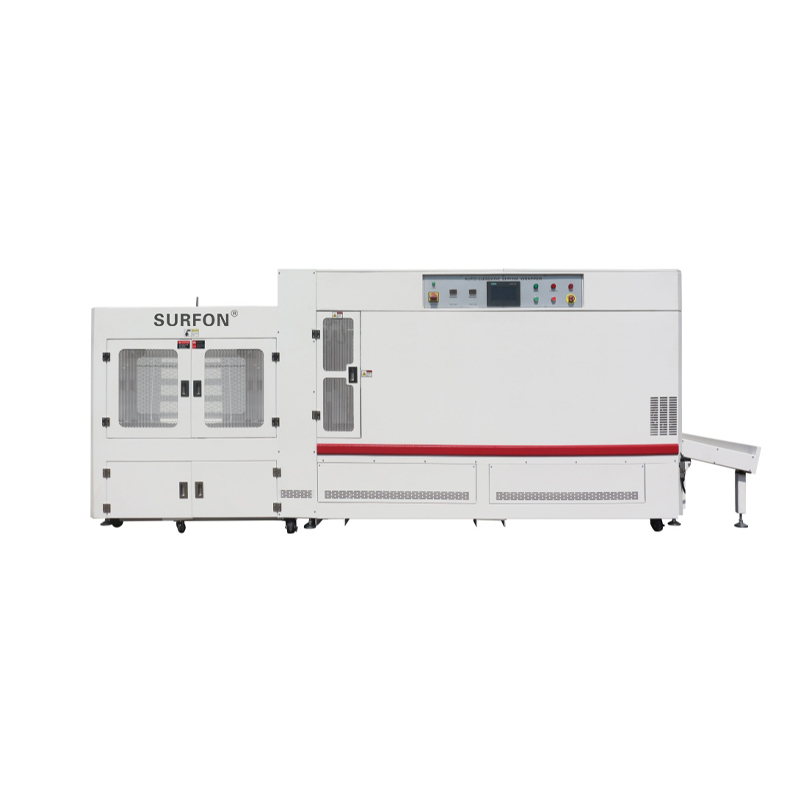
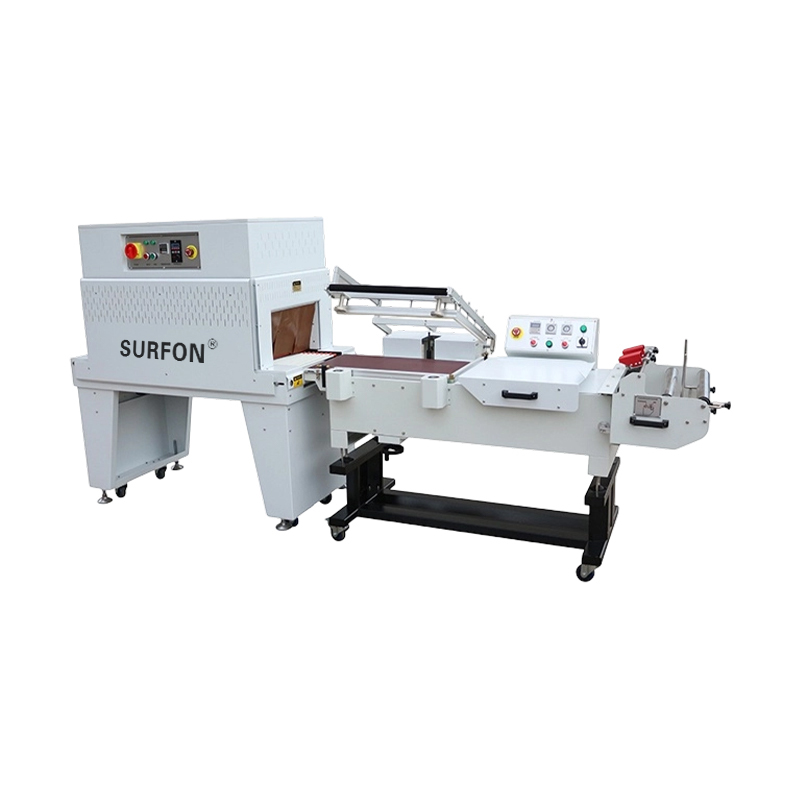 Semi-Automatic L-Bar Sealer and Shrink TunnelCombined L-bar sealing and shrink tunnel for regular boxes, gift sets and multi-packs, with automatic sealing, cutting, conveying and shrinking after manual feeding.View Product →
An L-bar sealer with a tunnel handles square boxes, gift sets and multi-packs, so it tends to suit makers who sell bundles rather than single bombs. The tunnel also removes the technique variable: temperature and belt speed stay steady, and the finish stops depending on who happens to be holding the heat gun.
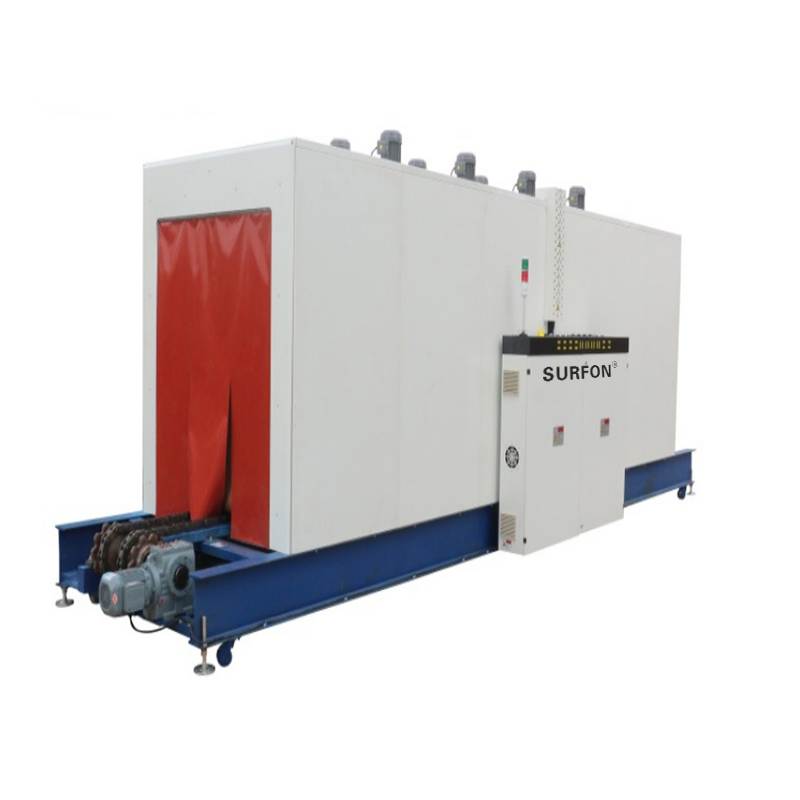
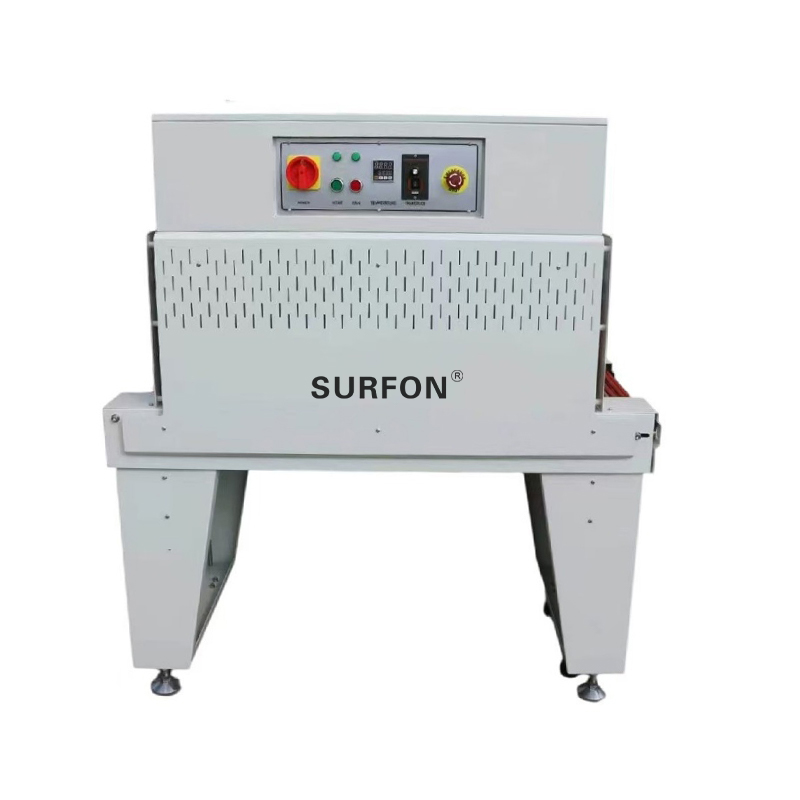 SF-4525 Medium Heat Shrink TunnelGeneral-purpose medium tunnel for small regular goods up to 450×250 mm, usable with sealing units or manual equipment and supporting PVC, POF and PET films.View Product →
A bath bomb studio is small compared with the industrial lines we build, yet the physics is identical. If you want to see how the same principles play out at larger scale, our notes on where heat shrink packaging machines are used cover several industries that face the same moisture and abrasion problems.
Storing and Shipping Wrapped Bombs
- Keep them in a single layer in a cool, dry room. Stacked bombs press against each other and crack the film at the seam.
- Keep them away from kettles, dishwashers and bathroom shelves. Steam softens the wrap and starts the fizzing early.
- Pack them upright in a padded carton with the voids filled, so they cannot roll into one another in transit.
- Write a batch date on every carton and open one sample after a week to check for fogging or shrinkage.
The routine is simple, and that is the point: cure the bomb, cut generously, seal properly, then heat in short bursts until the film is snug but never glassy. Do that a dozen times and your hands will know the timing better than any instruction sheet. Once the process feels natural, the move to a sealing and shrinking machine is a matter of volume rather than skill.




Copyright @ Shanghai KUKO Packing Machinery Co., Ltd. All rights reserved
