


 中文简体
 Español

 2026.11.12
How to Shrink Plastic in an Oven: A Friendly, Practical Guide for Makers
Content
Shrink plastic has a way of turning an ordinary afternoon into something a little magical. You draw or print on a thin, slightly frosted sheet, cut it out, slide it into a warm oven, and watch it curl, wobble, and settle into a small, thick, glossy version of itself.
Teachers, jewellery makers, model builders, and even packaging engineers all rely on the same basic behaviour. The plastic does not really "melt down" — it relaxes. Once you understand that, shrinking plastic in an oven stops being a guessing game and becomes a repeatable process you can trust, whether you are making one keychain or checking a setting before a production run.
Why Plastic Shrinks in an Oven
Most craft shrink plastic is biaxially oriented polystyrene, often labelled as sheet type #6. During manufacturing, the sheet is warmed and stretched in two directions at once. The long polymer chains slide into a stretched, orderly arrangement and are then cooled quickly, which locks that arrangement in place. The sheet is now bigger than it "wants" to be.
Heat reverses the process. Somewhere around 100 °C, the polymer chains gain enough energy to move again, and the memory of the unstretched state takes over. The sheet contracts — usually by 40 to 60 percent in each direction — while the material has nowhere to go but sideways, so the piece becomes roughly two to three times thicker. Cool it below that softening point and the new, smaller shape is frozen.
A domestic oven sits comfortably above that threshold, which is why it works so well. It also explains the two failure modes you will meet most often: too much heat, which scorches or traps bubbles, and uneven heat, which lets one part of the piece shrink before the rest and leaves you with a warped result.
How to Shrink Plastic in an Oven, Step by Step
- Preheat properly. Set the oven to 150–175 °C (300–350 °F) and give it a full ten minutes. If you have a separate oven thermometer, use it — dial markings drift, and 20 °C of error is enough to change the outcome.
- Line the tray. Baking parchment or plain brown kraft paper works well. Avoid wax paper, which can transfer a film onto the plastic, and avoid placing pieces directly on a bare metal tray or a pizza stone.
- Prepare the pieces first. Punch any hanging holes before baking, and make them two to three times larger than the finished hole you want — they shrink along with everything else. Sand sharp cut edges lightly so they round off neatly.
- Leave room. Space pieces at least 5 cm apart on the tray. Each one will curl dramatically before it flattens, and two pieces touching at that moment will fuse into a single lump.
- Bake in the middle. Place the tray on the middle rack with printed or drawn sides facing up. Keep the oven door closed and use the light to watch.
- Watch for one to three minutes. The sheet will first cup upward, then relax and flatten. Thin sheets take under a minute; thicker ones take closer to three. The moment it lies flat, it is done.
- Flatten immediately. Lift the tray out and press the piece with a spatula or a second sheet of parchment plus a flat weight within a few seconds. It stays pliable for only a short window.
- Cool under weight. Leave the piece beneath a book or a flat board for a minute so it cannot re-curl as it stiffens.
Temperature and Timing Reference
| Heat source | Temperature | Typical time | Notes |
|---|---|---|---|
| Conventional home oven | 150–175 °C | 1–3 minutes | Middle rack; check brand instructions first |
| Fan or convection oven | 140–160 °C | 1–2 minutes | Reduce setting by about 15 °C; airflow speeds shrinking |
| Toaster oven | 150 °C | 30–90 seconds | Small cavity heats fast; watch continuously |
| Heat gun | 150–200 °C air | 10–30 seconds | Useful for spot work; scorching risk is higher |
| Conveyor shrink tunnel | 160–200 °C | 5–20 seconds dwell | Production setting: zones plus conveyor speed control |
Troubleshooting When the Oven Misbehaves
- The piece folded over and stuck to itself. It curled faster than it could relax. Drop the temperature by 10–15 °C, dust the sheet very lightly with talcum powder, or sandwich it between two sheets of parchment on a mesh tray.
- Bubbles or a cloudy finish. Usually moisture or too much ink. Let printed sheets dry completely and avoid flooding the surface with wet media.
- Brown edges or a dull, matte face. Too hot or too long. Confirm the real temperature with an oven thermometer and move the tray down a rack.
- Uneven shrinking, one side lagging. The oven has hot spots, or the piece was cut from a sheet with inconsistent thickness. Rotate the tray halfway through and cut pieces from the same area of the sheet.
- It curled and stayed curled. It cooled before you flattened it. Have your spatula and weight ready before the tray comes out, and press within three to five seconds.
- The hanging hole disappeared. Punch a hole at least twice the finished size, and punch it before baking, never afterwards.
Safety and Material Rules Worth Respecting
- Use polystyrene sheet intended for shrinking. Bottle plastic, PVC, and unknown #7 plastics are not the same material and can release irritating fumes.
- Ventilate the kitchen. Switch on the extractor fan and avoid opening the oven door repeatedly to sniff the results.
- Never use a microwave. It heats unevenly and unpredictably, and the plastic can scorch from the inside.
- Treat the tray as hot for several minutes, and keep children and pets clear of the oven while pieces are baking.
- Store unused sheets flat and away from sunlight; a warped sheet will shrink into a warped piece.
From Kitchen Oven to Production Line: What Actually Changes
The physics stay the same when you move from one keychain to ten thousand units. What changes is control. A home oven heats by conduction through the tray and by whatever air swirls inside the cavity; a conveyorised shrink tunnel heats the film from all sides with forced air, moving the product through separate zones at a fixed speed. Nobody has to open a door, judge the moment, or flatten anything by hand.
That shift matters because the variables stop being guesses and start being settings: zone temperature, conveyor speed and therefore dwell time, and airflow. Consistency becomes repeatable rather than lucky, and the awkward middle — pieces that curl inconsistently, edges that brown — largely disappears.
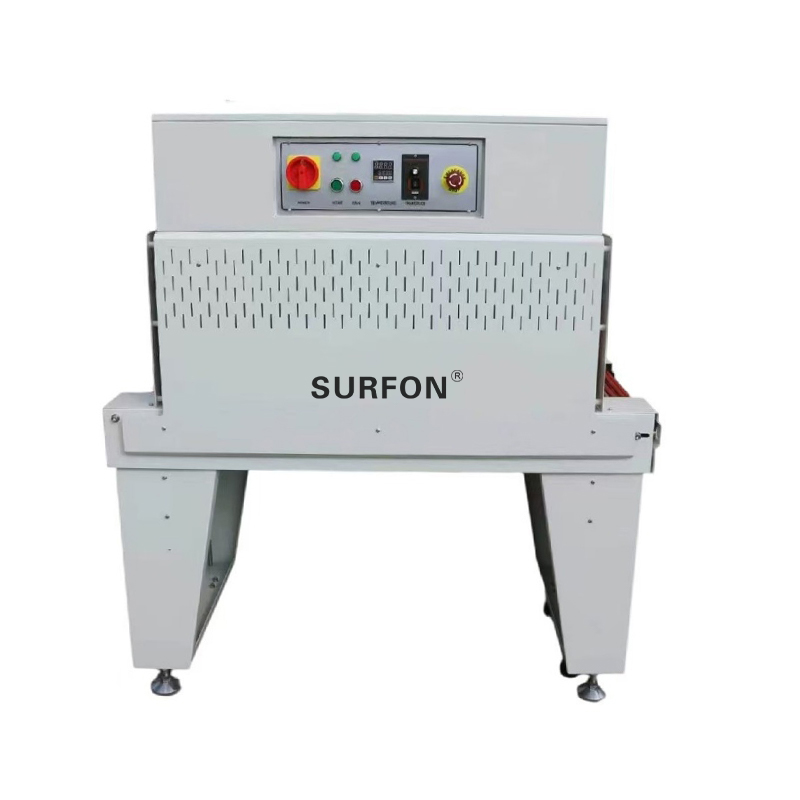 SF-4525 Heat Shrink Tunnel for Small to Medium ProductionA medium-sized shrink tunnel with adjustable temperature and 0–15 m/min conveyor speed, suited to POF film and regular small-to-medium goods.View Product →
Our own workshop has been building this equipment in Shanghai since 2004. Over that time we have assembled a range of more than 200 models, from compact semi-automatic units up to integrated lines, and we run two production bases covering 34,000 square metres under ISO 9001 and CE certification. A machine like the SF4525, for example, is where many small teams begin when the home-oven method stops keeping up with demand: it handles POF film with a stable, repeatable tunnel temperature and a conveyor speed you can dial in.
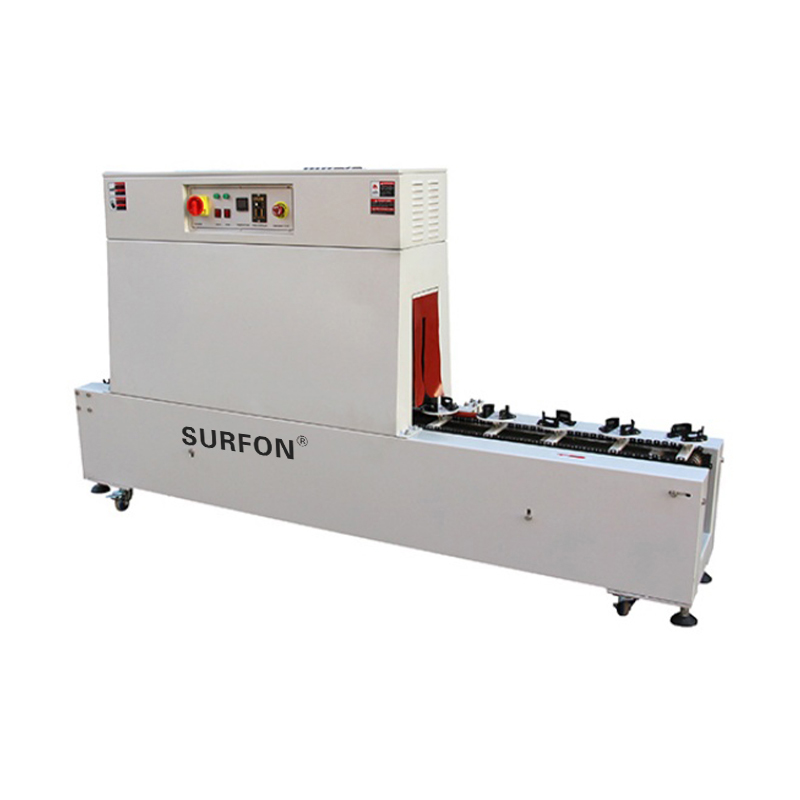 Rotary Label Shrink Tunnel for Bottles and BucketsA rotary heat shrink tunnel for cylindrical bottles and buckets, with adjustable clamps and dual hot-air circulation to help prevent label wrinkling.View Product →
If your interest is really in printed shrink — sleeves, labels, decorated parts rather than hand-drawn sheets — a dedicated label shrink tunnel is the closer relative, because it wraps film around a container and shrinks it snugly against the surface, exactly the effect crafters chase with a marker and a baking tray.
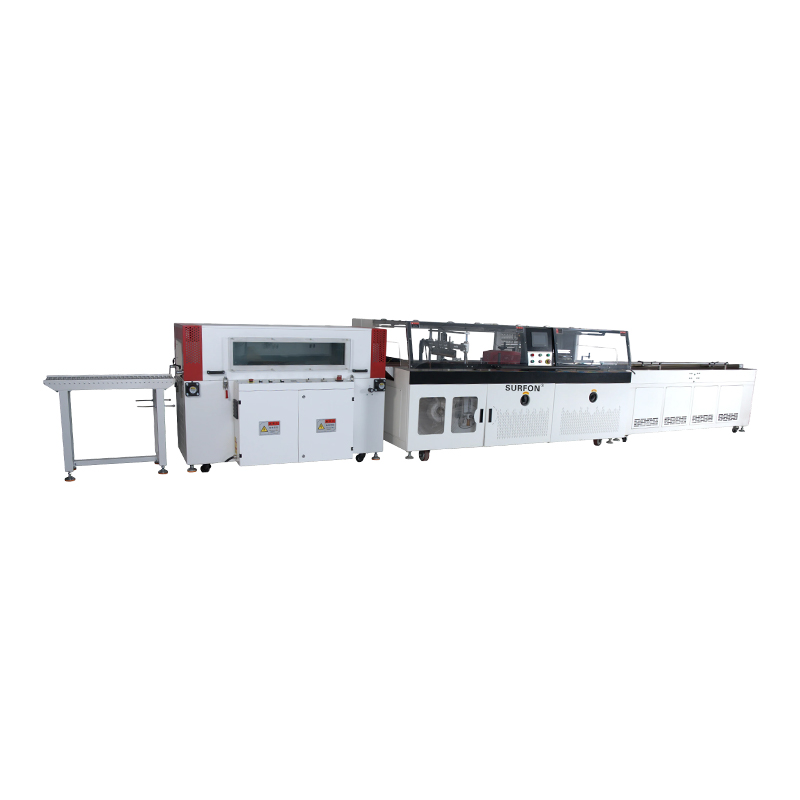
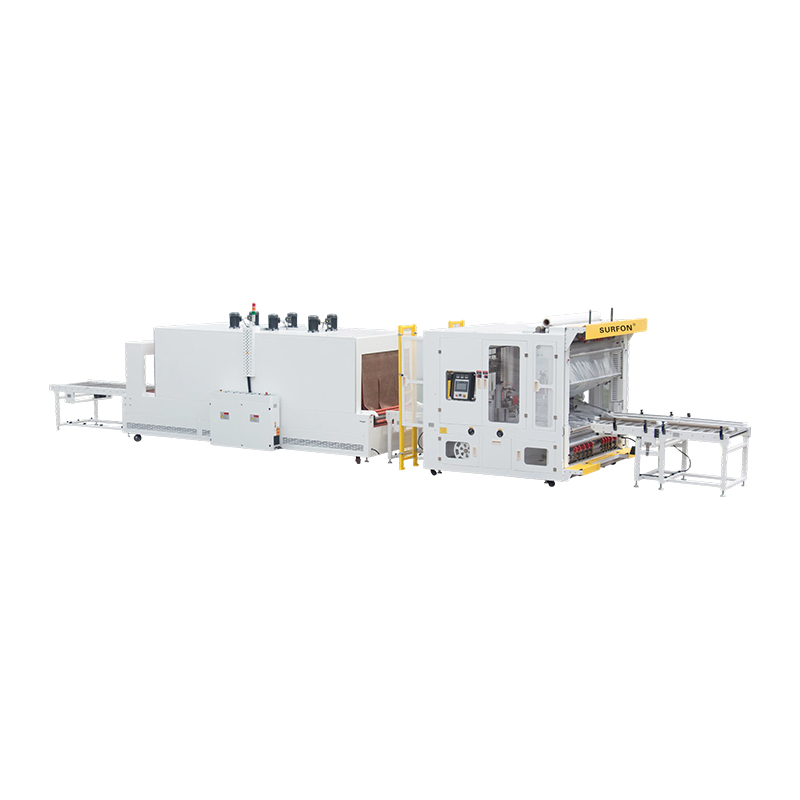
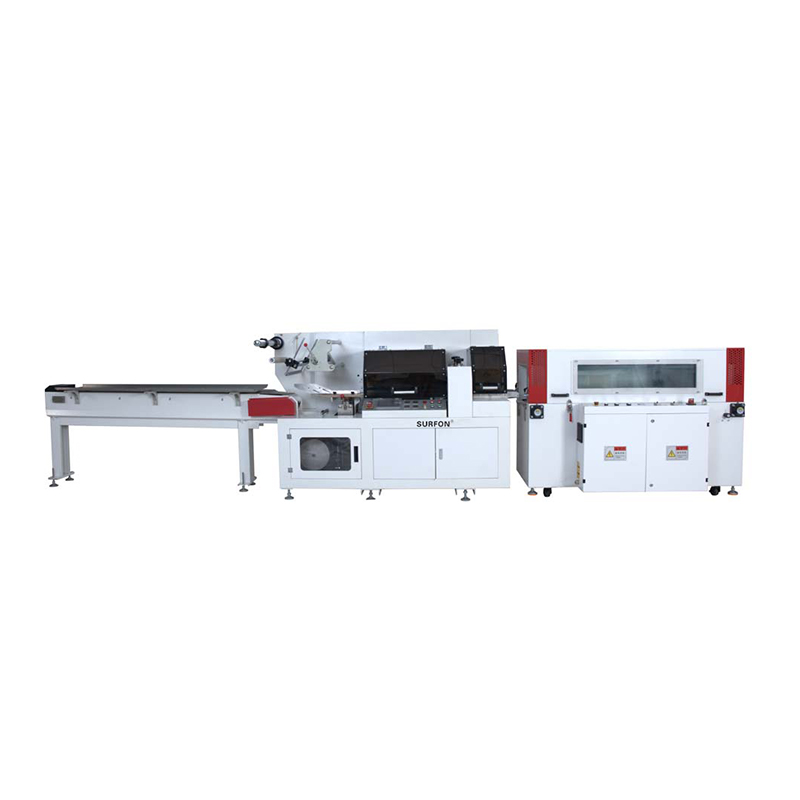
It also helps to see the wider picture. Shrinking is rarely a standalone step in industry; it is part of sealing, sleeving, bundling, and palletising, and the demands differ sharply between electronics, food, logistics and other applications. When volume keeps climbing, it is worth asking whether fully automatic shrink wrapping equipment is right for your production before you simply buy a bigger oven.
Finishing Your Shrunk Pieces
Freshly shrunk plastic is glossy but slightly porous, and ink sitting on the surface will wear away with handling. A thin coat of acrylic sealer — sprayed lightly rather than brushed heavily — protects drawings and prints. Sand edges with 400 to 600 grit paper before sealing if you want a clean, professional face, then attach findings, keyrings, or magnets with a strong adhesive.
If you are already sketching out a small production run, the same rules apply: test one piece at a known temperature, record what worked, and only then commit to a batch. That habit serves hobbyists and plant engineers alike, and it is the quiet reason a well-controlled oven — or tunnel — produces the same result every single time.





Copyright @ Shanghai KUKO Packing Machinery Co., Ltd. All rights reserved
